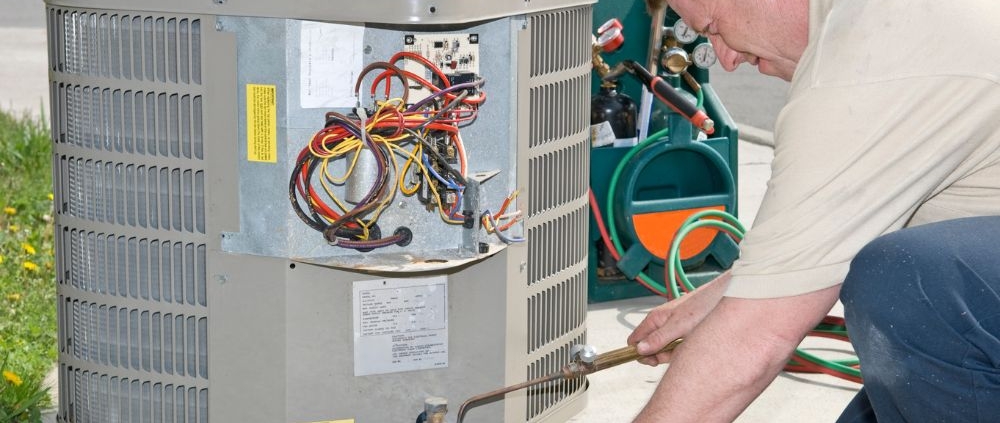
How to Test AC Capacitor
An air conditioning (AC) capacitor is a crucial component that helps the compressor and fan motors start and run efficiently. Over time, capacitors can wear out or fail, causing the AC unit to malfunction. Testing the capacitor ensures it is functioning correctly and prevents further damage to the system.
Understanding AC Capacitors
AC capacitors store electrical energy and release it to help motors start and operate. There are two main types: the start capacitor and the run capacitor. Start capacitors provide a temporary boost to start motors, while run capacitors maintain a consistent voltage supply during operation. Capacitors are measured in microfarads (µF), and the correct rating is critical for system performance. Most residential AC units use 5 to 50 µF capacitors.
A faulty capacitor can cause the compressor or fan motor to fail, the unit to make humming noises, or the system to not start at all. Testing the capacitor periodically is part of regular AC maintenance.
Tools Needed for Testing
Testing an AC capacitor requires basic tools. A multimeter with a capacitance setting is essential. A screwdriver or insulated tool may be needed to discharge the capacitor safely before testing. Protective gloves and safety glasses are recommended due to the risk of electric shock.
Step-by-Step Testing Process
- Turn Off Power
Ensure the AC unit is completely powered off. Switch off the breaker at the electrical panel to prevent accidental shock. - Discharge the Capacitor
Capacitors store electrical energy even when the power is off. Use an insulated screwdriver to bridge the terminals and safely discharge the stored charge. Touch only the insulated portion of the tool to avoid injury. - Disconnect the Capacitor
Carefully remove the wires connected to the capacitor terminals. Note the terminal configuration to reconnect them correctly after testing. - Set the Multimeter
Switch the multimeter to the capacitance measurement mode. If the meter does not have a capacitance setting, a standard multimeter can measure resistance, but capacitance testing is more accurate with a meter designed for it. - Measure Capacitance
Place the multimeter probes on the capacitor terminals. The reading should be within 6% of the rated microfarad value printed on the capacitor. For example, a 25 µF capacitor should measure between 23.5 and 26.5 µF. Significant deviation indicates a failing capacitor. - Check for Physical Signs
Inspect the capacitor for bulging, leaking, or corrosion. Any physical damage is a clear sign that replacement is necessary, regardless of multimeter readings. - Reconnect or Replace
If the capacitor tests within the acceptable range and shows no physical damage, reconnect the wires. If it fails, replace it with a capacitor of the same microfarad rating and voltage rating.
Safety Precautions
Testing an AC capacitor involves electrical hazards. Always ensure the power is off, and the capacitor is discharged before handling. Use insulated tools and wear safety equipment. Avoid touching the terminals directly.
FAQ
How often should AC capacitors be tested?
Capacitors should be checked during routine maintenance, usually once a year, or when the AC exhibits starting or performance issues.
Can a bad capacitor damage the AC unit?
Yes, a failing capacitor can prevent the compressor or fan motor from starting or running properly, potentially causing further damage.
What is the typical lifespan of an AC capacitor?
AC capacitors generally last between 10 and 20 years, depending on usage, voltage fluctuations, and environmental conditions.
Can I test a capacitor without a multimeter?
While a basic resistance test can indicate some faults, accurate capacitance measurement requires a multimeter with a capacitance setting.
Is it safe to replace a capacitor myself?
Replacement can be done safely if power is off and the capacitor is discharged. However, consulting a professional is recommended for inexperienced users.
Conclusion
Testing an AC capacitor is essential to ensure efficient operation of the compressor and fan motors. Capacitors are measured in microfarads, and readings outside the acceptable range indicate the need for replacement. Safety is paramount, including turning off power and discharging stored electricity. Regular testing prevents system failure, extends the AC unit’s lifespan, and ensures reliable cooling. Proper maintenance and timely capacitor replacement maintain optimal performance and reduce energy consumption.
AC Running Constantly Does Not Shut Off When Set Temperature Is Reached
An air conditioning system is designed to maintain indoor comfort by regulating temperature and humidity. Ideally, the AC should cycle on and off to maintain the temperature set on the thermostat. When an AC runs constantly without shutting off even after reaching the desired temperature, it indicates an issue within the system. Continuous operation not only increases energy consumption but can also lead to wear and potential damage to components.
Causes of AC Running Constantly
One common reason for an AC not shutting off is a malfunctioning thermostat. The thermostat is responsible for sensing the indoor temperature and signaling the compressor to turn on or off. If the thermostat is inaccurately reading the room temperature or has a faulty sensor, it may fail to detect that the set temperature has been reached, causing the AC to run continuously.
Another factor is a dirty or clogged air filter. Restricted airflow reduces the AC’s efficiency and prevents proper heat exchange. When air cannot circulate effectively, the system struggles to cool the space, which may lead the compressor to operate continuously in an attempt to reach the set temperature.
Refrigerant issues also play a role. Low refrigerant levels or leaks can reduce the cooling capacity of the system. Without sufficient refrigerant, the AC cannot remove heat from the indoor air efficiently, causing the unit to run longer or constantly to attempt cooling.
Additionally, problems with the compressor or other mechanical components may result in continuous operation. A stuck relay, malfunctioning capacitor, or other electrical faults can prevent the compressor from shutting off. These issues often require professional inspection and repair to avoid further damage.
Improperly sized AC units can also contribute to this problem. An AC that is too small for the space will struggle to reach the set temperature and run continuously, while an oversized system may cycle too quickly. Correct sizing based on square footage, insulation, and climate is crucial for optimal performance.
How to Address the Issue
The first step is to check the thermostat. Ensure it is set to the correct mode, such as cooling mode, and verify that the temperature is accurately set. Cleaning or replacing the thermostat sensor may resolve issues related to incorrect readings. In some cases, upgrading to a programmable or smart thermostat can improve system efficiency.
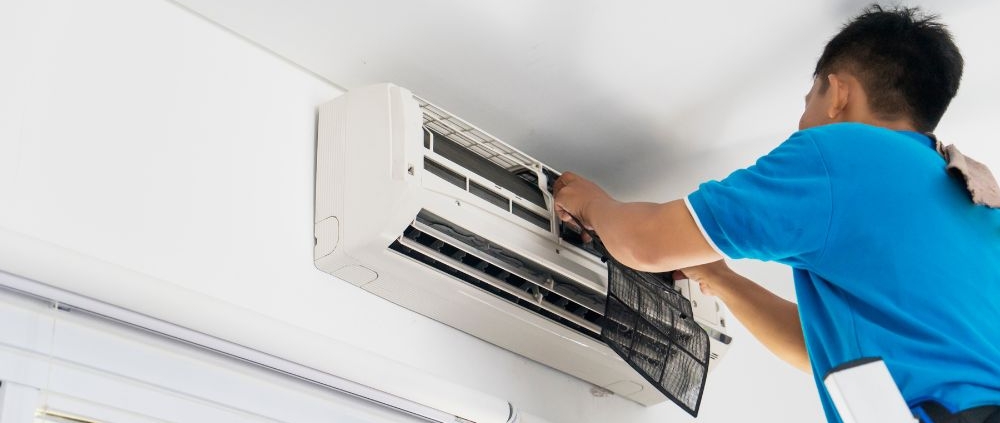
Inspecting and replacing dirty air filters is another critical step. Filters should be checked at least every three months and replaced if they appear clogged. Clean filters allow proper airflow, improve cooling efficiency, and help the AC cycle normally.
Checking refrigerant levels is essential if the system is not cooling effectively. Low refrigerant requires professional service, as handling refrigerants involves specific safety standards and environmental regulations. Certified technicians can locate leaks, repair them, and recharge the system to optimal levels.
For mechanical or electrical issues, such as a stuck compressor relay or faulty capacitor, professional intervention is necessary. Attempting to repair these components without proper knowledge can result in injury or permanent damage to the AC unit.
Proper maintenance and regular inspection of the entire HVAC system, including ductwork, electrical connections, and outdoor condenser coils, help prevent constant operation. Efficient heat exchange, clean components, and accurate temperature sensing ensure that the AC cycles correctly.
FAQ
Why does my AC run all the time even when it’s cold?
This usually indicates a thermostat malfunction, airflow restriction, or low refrigerant levels. The system is trying to reach the set temperature but cannot detect it properly or cannot cool effectively.
Can a dirty air filter cause the AC to run continuously?
Yes, a clogged air filter restricts airflow and reduces cooling efficiency, which can cause the compressor to operate without shutting off.
Is it safe to let the AC run constantly?
Continuous operation increases energy consumption and can lead to wear on the compressor, fan motors, and other components. It is not recommended.
How can I tell if refrigerant is low?
Signs of low refrigerant include weak airflow, warmer-than-usual air from vents, ice buildup on the evaporator coil, and continuous compressor operation. Professional evaluation is required to measure and recharge refrigerant safely.
Can a thermostat fix the problem?
Replacing or recalibrating a faulty thermostat can resolve issues where the AC does not shut off, especially if it is inaccurately sensing the indoor temperature.
Conclusion
An AC running constantly without shutting off when the set temperature is reached can result from several factors, including thermostat malfunctions, airflow restrictions, low refrigerant, mechanical failures, or improper system sizing. Identifying the underlying cause is crucial to restore proper operation, reduce energy consumption, and prevent damage to the unit. Regular maintenance, including checking filters, inspecting components, and monitoring refrigerant levels, ensures efficient AC performance. In many cases, professional service is required to address electrical or refrigerant-related issues safely and effectively. Ensuring that the AC cycles correctly improves comfort, energy efficiency, and system longevity.

How to Reset AC Compressor
An air conditioning (AC) compressor is a key component that circulates refrigerant through the system. If the compressor stops working, the AC will not cool properly. Resetting the AC compressor can resolve minor issues caused by electrical overloads, tripped circuits, or overheating. Understanding how to safely reset the unit is important for maintaining the efficiency and longevity of the system.
Steps to Reset an AC Compressor
The first step is to turn off the power supply to the AC unit. This can be done by switching off the circuit breaker or disconnecting the main power source. Ensuring that the unit is completely off prevents electrical shock or damage to the system during the reset process.
Next, locate the compressor reset button on the unit. Many AC compressors have a small red or black button, often found on the side or near the service panel. Consult the manufacturer’s manual if the location is unclear. Press the reset button firmly and hold it for approximately 30 seconds. This allows the internal overload protector to reset and clear any temporary faults.
After pressing the button, wait at least five minutes before restoring power. This waiting period ensures that the compressor has cooled down completely. Once the time has passed, turn the circuit breaker or power switch back on. The AC system should resume normal operation if the reset was successful.
In some cases, resetting the compressor may not resolve the issue. Persistent problems may be caused by low refrigerant levels, damaged electrical components, or a faulty compressor. If the AC fails to operate correctly after a reset, professional service is recommended. Certified technicians can perform detailed diagnostics, check refrigerant pressure, and replace any defective parts safely.
Safety Precautions
Resetting an AC compressor involves working with electrical components. Always wear insulated gloves and avoid touching exposed wiring. Ensure that all tools are dry and in good condition. Avoid attempting repairs if you are unfamiliar with electrical systems, as this can result in injury or damage to the AC unit.
It is also important to avoid repeated resets in a short period. Frequent tripping of the compressor indicates an underlying issue that must be addressed. Continuous resetting without identifying the root cause can lead to permanent damage to the compressor or the AC system.
FAQ
How often should an AC compressor be reset?
An AC compressor should only be reset when necessary, such as after an electrical overload or when the unit has overheated. Frequent resets suggest mechanical or electrical issues that require professional attention.
Can I reset the compressor without turning off the power?
No, always turn off the power before attempting a reset. Working on a live AC unit is dangerous and can cause electrical shock or further damage.
What if the reset button is not visible?
Some compressors do not have an accessible reset button. In these cases, turning the AC off for at least 10 minutes can allow the internal overload protector to reset automatically. Consult the user manual for specific instructions.
Will resetting the compressor fix low refrigerant?
No, a reset will not solve issues related to refrigerant levels. Low refrigerant can prevent the AC from cooling effectively and may damage the compressor over time. A certified technician should inspect and recharge the system if needed.
Is it safe to reset the compressor multiple times?
Repeated resets can strain the electrical components and may indicate a more serious problem. If the compressor trips frequently, a professional assessment is recommended to prevent permanent damage.
Conclusion
Resetting an AC compressor is a useful troubleshooting step when the unit stops working due to electrical overloads or temporary faults. The process involves turning off the power, pressing the reset button, and waiting for the system to cool before restoring electricity. Safety precautions, such as wearing insulated gloves and ensuring the power is off, are critical. While a reset can restore functionality in some cases, persistent problems often require professional inspection to address underlying mechanical or electrical issues. Regular maintenance and monitoring of refrigerant levels, electrical connections, and system performance can reduce the likelihood of compressor failures and extend the life of the AC unit.