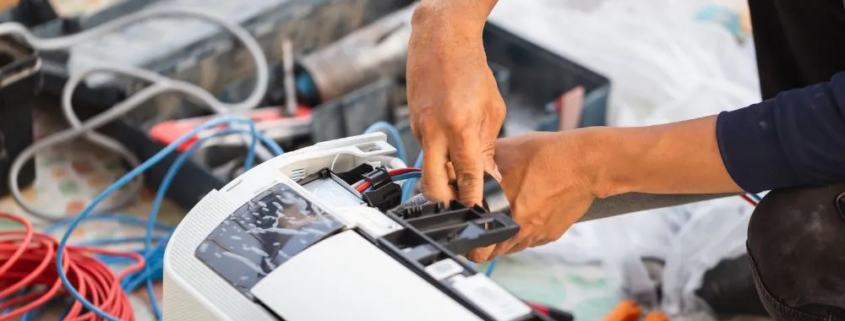
How to repair RV air conditioner shroud
Repairing an RV air conditioner shroud can be a relatively simple task, and it’s essential to address any damage promptly to maintain the unit’s efficiency and protect it from the elements. Here’s a step-by-step guide on how to repair an RV air conditioner shroud:
Materials Needed:
- Fiberglass repair kit or ABS plastic welding kit (depending on the shroud material)
- Sandpaper
- Cleaning solution (e.g., isopropyl alcohol)
- Cloth or sponge
- Masking tape
- UV-resistant spray paint (matching the shroud color)
Steps:
Assessment:
- Inspect the RV air conditioner shroud for cracks, holes, or other damage.
- Identify the shroud material (commonly fiberglass or ABS plastic).
Clean the Shroud:
- Wipe the damaged area with a cleaning solution, such as isopropyl alcohol, to remove dirt, grime, and any residue.
Prepare the Surface:
- Use sandpaper to roughen the damaged area slightly. This helps the repair material adhere better.
Repair with Fiberglass Kit (for Fiberglass Shrouds):
- If the shroud is made of fiberglass, follow the instructions on the fiberglass repair kit.
- Apply the fiberglass repair resin or epoxy to the damaged area.
- Place the fiberglass mesh or fabric over the resin, ensuring full coverage.
- Apply another layer of resin over the mesh and smooth it out.
- Allow the repair to cure according to the kit instructions.
Repair with ABS Plastic Welding Kit (for ABS Plastic Shrouds):
- If the shroud is made of ABS plastic, use an ABS plastic welding kit.
- Clean the damaged area thoroughly.
- Follow the kit instructions to weld the plastic together, filling any cracks or holes.
Sand and Smooth:
- Once the repair has fully cured or dried, use sandpaper to smooth out any rough edges or uneven surfaces.
Masking and Painting:
- Mask off the repaired area with masking tape to protect the surrounding shroud.
- Use UV-resistant spray paint in a color that matches the shroud to paint over the repaired area.
- Follow the paint manufacturer’s instructions regarding drying and curing times.
Final Inspection:
- Once the paint has dried and cured, inspect the repaired area to ensure it blends seamlessly with the rest of the shroud.
By following these steps, you can effectively repair your RV air conditioner shroud, providing it remains sturdy and visually appealing. Regular maintenance and prompt repairs contribute to the longevity of your RV’s air conditioning system.
You may like also:


Leave a Reply
Want to join the discussion?Feel free to contribute!