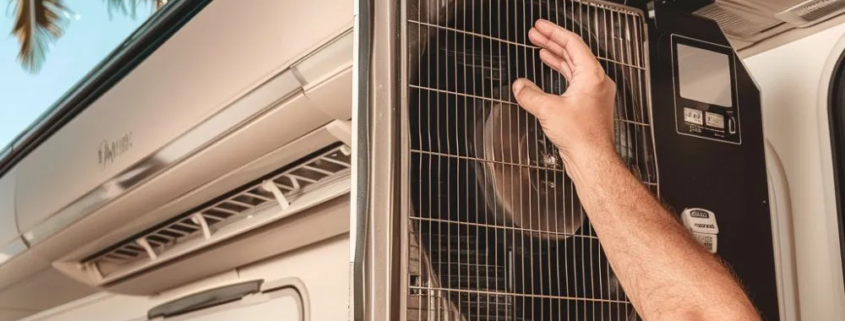
How Do you Reset an RV Air Conditioner
For RV enthusiasts, comfort on the road is paramount, especially on hot summer days. RV air conditioning plays an important role in ensuring a pleasant interior temperature while traveling or camping. However, like any other appliance, RV air conditioners can experience problems that require a reset to restore optimal performance. In this article, we’ll provide you with a comprehensive guide on how to reset your RV air conditioner, ensuring you stay cool and comfortable during your trip.
Understanding Reset Requirements:
Before diving into the reset process, it’s essential to understand why you need to reset your RV air conditioner. Common causes include electrical faults, frozen coils, or simply the need to recalibrate the system. A reset helps clear any temporary faults and restores the air conditioner to its default settings, allowing it to operate efficiently.
Step-by-step instructions for resetting your RV air conditioner:
Turn off the power:
Start by turning off the power supply to your RV air conditioner. Locate the circuit breaker or switch in your RV’s electrical panel dedicated to the air conditioning unit and turn it off. This ensures safety during the reset process.
Wait a few minutes:
After turning off the power, allow the RV air conditioner to idle for a few minutes. This step is very important as it allows the system’s capacitors to discharge fully. Waiting ensures that any residual electricity is dissipated while resetting, preventing potential electrical hazards.
Turn the power back on:
After you’ve waited a few minutes, it’s time to restore power to the RV air conditioner. Flip the circuit breaker or turn it back on to supply power to the unit. Make sure you follow proper safety protocols when handling electrical components.
Adjust the thermostat:
After power is restored, adjust the thermostat setting on your RV air conditioner. Set it to your desired temperature and make sure the mode is switched to “Cool” for air conditioner operation. This step ensures that the air conditioner works according to your comfort preferences.
Monitor for proper operation:
Once you have completed the reset and adjusted the thermostat settings, monitor the RV air conditioner for proper operation. Listen for the compressor kicking in and feel the cool air coming from the vents. If the air conditioner fails to work as expected, further troubleshooting may be required.
Inspect filters and vents:
When resetting the RV air conditioner, inspect and clean the air filter and vents. Clogged filters and vents can restrict airflow, affecting the air conditioner’s performance. Regular maintenance ensures optimal performance and extends the life of your RV air conditioning unit.
Seek professional help if needed:
Suppose resetting the RV air conditioner does not solve the problem, or you encounter any problems during the process. In that case, it is recommended to seek professional help. Qualified RV technicians have the skills and tools to diagnose and resolve any underlying problems effectively.
Conclusion:
Resetting your RV air conditioner is a simple but important maintenance task that ensures optimal performance and comfort during your trip. By following the step-by-step instructions outlined in this article, you can effectively reset your RV air conditioner and enjoy cool and fresh air wherever your adventure takes you. Be sure to prioritize safety and regular maintenance to keep your RV air conditioning system in top condition for years to come.
You may like also:


Leave a Reply
Want to join the discussion?Feel free to contribute!