
What Size AC Unit Do I Need
Choosing the correct size of an air conditioning (AC) unit is crucial for efficient cooling and energy savings. An improperly sized unit can lead to inadequate cooling, higher energy bills, and faster wear on the system. AC unit size is measured in British Thermal Units (BTU) per hour or tons, where one ton equals 12,000 BTU. Determining the right size depends on factors such as room size, insulation, ceiling height, and climate.
Understanding AC Unit Sizing
AC units work by removing heat from indoor air and transferring it outside. The unit’s capacity must match the cooling load of the space. If the unit is too small, it will struggle to reach the desired temperature, causing continuous operation and increased energy use. If the unit is too large, it will cool the space quickly but cycle on and off frequently, reducing humidity control and stressing the system.
Several key factors influence AC sizing:
Room Area: The floor space in square feet is the primary consideration. Larger areas require units with higher BTU ratings. For example, a 200-square-foot room may need around 6,000 BTU, while a 1,000-square-foot space may require approximately 24,000 BTU.
Insulation and Windows: Well-insulated rooms with energy-efficient windows retain cool air better, allowing for a slightly smaller unit. Rooms with poor insulation, large windows, or significant sun exposure may need higher capacity units to compensate for heat gain.
Ceiling Height: Standard calculations assume ceilings of 8 feet. Higher ceilings increase air volume and may require additional cooling capacity.
Climate: The local outdoor temperature and humidity levels affect cooling requirements. Warmer climates typically need units with higher BTU ratings.
Occupants and Equipment: Human bodies and electronic devices generate heat. Kitchens or rooms with multiple electronics may need additional capacity.
Calculating AC Unit Size
To estimate the correct AC unit size, multiply the square footage of the room by 25 to 30 BTU per square foot for moderate climates. For hotter regions, the requirement may rise to 30-35 BTU per square foot.
For example, a 500-square-foot room in a moderate climate would need an AC unit with a capacity between 12,500 and 15,000 BTU. It is also important to consider adjustments for insulation, windows, ceiling height, and heat-generating devices. A professional HVAC technician can perform a Manual J load calculation for precise sizing.
Common AC Unit Sizes
Residential AC units range from 5,000 BTU for small rooms to 36,000 BTU or 3 tons for large homes. Central AC systems are typically sized between 1.5 and 5 tons, depending on the square footage and building characteristics.
For reference:
- 250–350 square feet: 6,000–8,000 BTU
- 350–500 square feet: 9,000–12,000 BTU
- 500–700 square feet: 12,000–18,000 BTU
- 700–1,000 square feet: 18,000–24,000 BTU
- 1,000–1,200 square feet: 24,000–30,000 BTU
These estimates assume average insulation and standard ceiling height.
Signs of Incorrect AC Sizing
A unit that is too small may run constantly, fail to reach the desired temperature, or struggle during peak heat. A unit that is too large may cool the air quickly but create excessive humidity and frequent on-off cycles, increasing wear and energy consumption.
Energy efficiency ratings, such as SEER (Seasonal Energy Efficiency Ratio), should also be considered. Higher SEER ratings indicate more efficient units, which may influence overall performance when selecting the correct size.
FAQ
Can I use a larger AC unit than needed?
While a larger unit cools faster, it can cause short cycling, poor humidity control, and increased energy costs.
How often should AC units be replaced?
Most AC units last between 10 and 15 years, depending on maintenance and usage.
Does insulation affect the required AC size?
Yes. Better insulation reduces cooling needs, potentially allowing a slightly smaller unit.
Can I install multiple smaller units instead of one large unit?
Yes, split systems or multiple units can provide better zoning and energy efficiency in larger homes.
Is professional assessment necessary?
Professional assessment ensures precise sizing, particularly for central AC systems, and helps avoid inefficiency.
Conclusion
Selecting the correct AC unit size ensures efficient cooling, optimal comfort, and energy savings. Consider room size, insulation, ceiling height, climate, and internal heat sources when determining capacity. Residential AC units range from 5,000 to 36,000 BTU, with central systems typically between 1.5 and 5 tons. Proper sizing avoids issues like short cycling, inadequate cooling, or high energy consumption. Consulting an HVAC professional for accurate calculations ensures the system matches the space’s cooling needs, providing reliable performance and longer lifespan.
How to Test AC Capacitor
An air conditioning (AC) capacitor is a crucial component that helps the compressor and fan motors start and run efficiently. Over time, capacitors can wear out or fail, causing the AC unit to malfunction. Testing the capacitor ensures it is functioning correctly and prevents further damage to the system.
Understanding AC Capacitors
AC capacitors store electrical energy and release it to help motors start and operate. There are two main types: the start capacitor and the run capacitor. Start capacitors provide a temporary boost to start motors, while run capacitors maintain a consistent voltage supply during operation. Capacitors are measured in microfarads (µF), and the correct rating is critical for system performance. Most residential AC units use 5 to 50 µF capacitors.
A faulty capacitor can cause the compressor or fan motor to fail, the unit to make humming noises, or the system to not start at all. Testing the capacitor periodically is part of regular AC maintenance.
Tools Needed for Testing
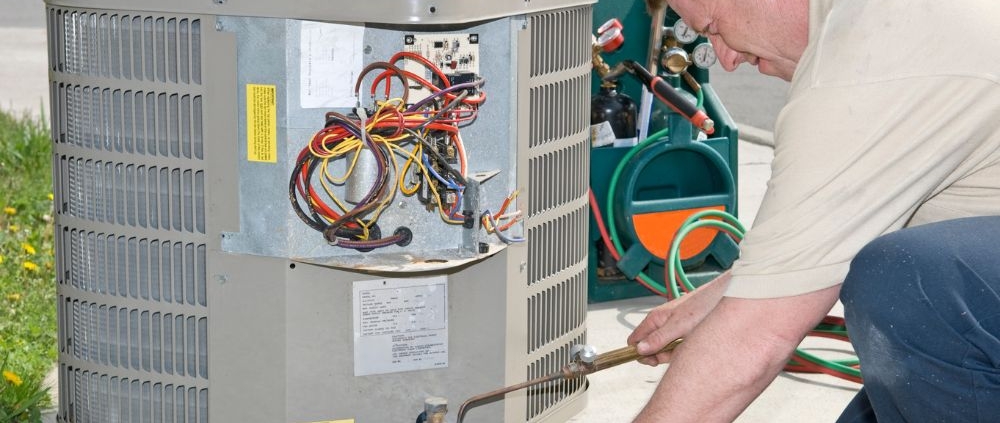
Testing an AC capacitor requires basic tools. A multimeter with a capacitance setting is essential. A screwdriver or insulated tool may be needed to discharge the capacitor safely before testing. Protective gloves and safety glasses are recommended due to the risk of electric shock.
Step-by-Step Testing Process
- Turn Off Power
Ensure the AC unit is completely powered off. Switch off the breaker at the electrical panel to prevent accidental shock. - Discharge the Capacitor
Capacitors store electrical energy even when the power is off. Use an insulated screwdriver to bridge the terminals and safely discharge the stored charge. Touch only the insulated portion of the tool to avoid injury. - Disconnect the Capacitor
Carefully remove the wires connected to the capacitor terminals. Note the terminal configuration to reconnect them correctly after testing. - Set the Multimeter
Switch the multimeter to the capacitance measurement mode. If the meter does not have a capacitance setting, a standard multimeter can measure resistance, but capacitance testing is more accurate with a meter designed for it. - Measure Capacitance
Place the multimeter probes on the capacitor terminals. The reading should be within 6% of the rated microfarad value printed on the capacitor. For example, a 25 µF capacitor should measure between 23.5 and 26.5 µF. Significant deviation indicates a failing capacitor. - Check for Physical Signs
Inspect the capacitor for bulging, leaking, or corrosion. Any physical damage is a clear sign that replacement is necessary, regardless of multimeter readings. - Reconnect or Replace
If the capacitor tests within the acceptable range and shows no physical damage, reconnect the wires. If it fails, replace it with a capacitor of the same microfarad rating and voltage rating.
Safety Precautions
Testing an AC capacitor involves electrical hazards. Always ensure the power is off, and the capacitor is discharged before handling. Use insulated tools and wear safety equipment. Avoid touching the terminals directly.
FAQ
How often should AC capacitors be tested?
Capacitors should be checked during routine maintenance, usually once a year, or when the AC exhibits starting or performance issues.
Can a bad capacitor damage the AC unit?
Yes, a failing capacitor can prevent the compressor or fan motor from starting or running properly, potentially causing further damage.
What is the typical lifespan of an AC capacitor?
AC capacitors generally last between 10 and 20 years, depending on usage, voltage fluctuations, and environmental conditions.
Can I test a capacitor without a multimeter?
While a basic resistance test can indicate some faults, accurate capacitance measurement requires a multimeter with a capacitance setting.
Is it safe to replace a capacitor myself?
Replacement can be done safely if power is off and the capacitor is discharged. However, consulting a professional is recommended for inexperienced users.
Conclusion
Testing an AC capacitor is essential to ensure efficient operation of the compressor and fan motors. Capacitors are measured in microfarads, and readings outside the acceptable range indicate the need for replacement. Safety is paramount, including turning off power and discharging stored electricity. Regular testing prevents system failure, extends the AC unit’s lifespan, and ensures reliable cooling. Proper maintenance and timely capacitor replacement maintain optimal performance and reduce energy consumption.
AC Running Constantly Does Not Shut Off When Set Temperature Is Reached
An air conditioning system is designed to maintain indoor comfort by regulating temperature and humidity. Ideally, the AC should cycle on and off to maintain the temperature set on the thermostat. When an AC runs constantly without shutting off even after reaching the desired temperature, it indicates an issue within the system. Continuous operation not only increases energy consumption but can also lead to wear and potential damage to components.
Causes of AC Running Constantly
One common reason for an AC not shutting off is a malfunctioning thermostat. The thermostat is responsible for sensing the indoor temperature and signaling the compressor to turn on or off. If the thermostat is inaccurately reading the room temperature or has a faulty sensor, it may fail to detect that the set temperature has been reached, causing the AC to run continuously.
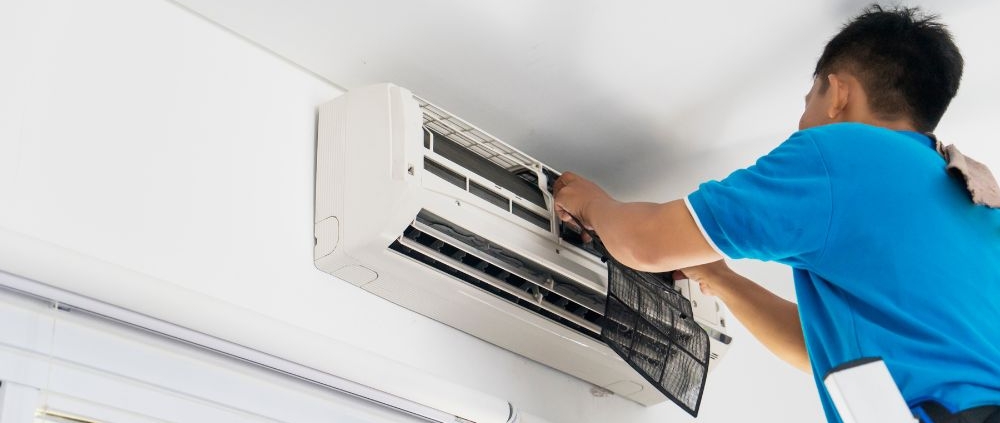
Another factor is a dirty or clogged air filter. Restricted airflow reduces the AC’s efficiency and prevents proper heat exchange. When air cannot circulate effectively, the system struggles to cool the space, which may lead the compressor to operate continuously in an attempt to reach the set temperature.
Refrigerant issues also play a role. Low refrigerant levels or leaks can reduce the cooling capacity of the system. Without sufficient refrigerant, the AC cannot remove heat from the indoor air efficiently, causing the unit to run longer or constantly to attempt cooling.
Additionally, problems with the compressor or other mechanical components may result in continuous operation. A stuck relay, malfunctioning capacitor, or other electrical faults can prevent the compressor from shutting off. These issues often require professional inspection and repair to avoid further damage.
Improperly sized AC units can also contribute to this problem. An AC that is too small for the space will struggle to reach the set temperature and run continuously, while an oversized system may cycle too quickly. Correct sizing based on square footage, insulation, and climate is crucial for optimal performance.
How to Address the Issue
The first step is to check the thermostat. Ensure it is set to the correct mode, such as cooling mode, and verify that the temperature is accurately set. Cleaning or replacing the thermostat sensor may resolve issues related to incorrect readings. In some cases, upgrading to a programmable or smart thermostat can improve system efficiency.
Inspecting and replacing dirty air filters is another critical step. Filters should be checked at least every three months and replaced if they appear clogged. Clean filters allow proper airflow, improve cooling efficiency, and help the AC cycle normally.
Checking refrigerant levels is essential if the system is not cooling effectively. Low refrigerant requires professional service, as handling refrigerants involves specific safety standards and environmental regulations. Certified technicians can locate leaks, repair them, and recharge the system to optimal levels.
For mechanical or electrical issues, such as a stuck compressor relay or faulty capacitor, professional intervention is necessary. Attempting to repair these components without proper knowledge can result in injury or permanent damage to the AC unit.
Proper maintenance and regular inspection of the entire HVAC system, including ductwork, electrical connections, and outdoor condenser coils, help prevent constant operation. Efficient heat exchange, clean components, and accurate temperature sensing ensure that the AC cycles correctly.
FAQ
Why does my AC run all the time even when it’s cold?
This usually indicates a thermostat malfunction, airflow restriction, or low refrigerant levels. The system is trying to reach the set temperature but cannot detect it properly or cannot cool effectively.
Can a dirty air filter cause the AC to run continuously?
Yes, a clogged air filter restricts airflow and reduces cooling efficiency, which can cause the compressor to operate without shutting off.
Is it safe to let the AC run constantly?
Continuous operation increases energy consumption and can lead to wear on the compressor, fan motors, and other components. It is not recommended.
How can I tell if refrigerant is low?
Signs of low refrigerant include weak airflow, warmer-than-usual air from vents, ice buildup on the evaporator coil, and continuous compressor operation. Professional evaluation is required to measure and recharge refrigerant safely.
Can a thermostat fix the problem?
Replacing or recalibrating a faulty thermostat can resolve issues where the AC does not shut off, especially if it is inaccurately sensing the indoor temperature.
Conclusion
An AC running constantly without shutting off when the set temperature is reached can result from several factors, including thermostat malfunctions, airflow restrictions, low refrigerant, mechanical failures, or improper system sizing. Identifying the underlying cause is crucial to restore proper operation, reduce energy consumption, and prevent damage to the unit. Regular maintenance, including checking filters, inspecting components, and monitoring refrigerant levels, ensures efficient AC performance. In many cases, professional service is required to address electrical or refrigerant-related issues safely and effectively. Ensuring that the AC cycles correctly improves comfort, energy efficiency, and system longevity.
